

Hey everyone, I’m Jake, and let’s cut to the chase—if you work with ESD (electrostatic discharge) sensitive stuff, you know that using just any tape is a recipe for disaster. I’ve been selling ESD adhesive tape for over 8 years, and I’ve seen it all: folks grabbing random rolls from their stock room, slapping them on, and then wondering why their circuit boards get fried. Today, I’m breaking down exactly how to apply ESD adhesive tape correctly—no fancy jargon, just stuff that works from someone who’s been in the game and has fixed way too many botched jobs.
First off, let’s get one thing straight: ESD tape isn’t regular tape. It’s not like the packing tape you use for shipping boxes, and it’s definitely not the masking tape you grabbed from the hardware store last week. Regular tape builds up static, and that’s how you ruin a $10k microchip before you even solder it. ESD tape is designed to bleed static away safely, but only if you use it right. I’ve had a customer come to me last quarter saying their whole batch of semiconductors failed because their techs used generic tape to hold components down during testing. Turned out, they didn’t even know there was a correct way to apply ESD tape—yikes. That’s exactly why I’m writing this: to keep that from happening to you.
Let’s start with the prep work because you can’t just unroll and stick it on any surface. First, check the surface you’re applying the tape to. Is it clean? Like, really clean. Dirt, oil, residue from old tape—all of that messes with the tape’s ability to bond and, more importantly, its static-dissipating properties. If there’s grease on the PCB (printed circuit board), the tape won’t make proper contact, so static can’t move where it needs to. I recommend using isopropyl alcohol (90% or higher) and a lint-free wipe—no paper towels, they leave little fibers that cause their own static issues. Wipe it in one direction, don’t scrub back and forth, and let it air dry completely. If you touch the surface with your bare hands after cleaning, you just put static on it—wear ESD gloves while you’re prepping.
Next, pick the right ESD tape for the job. Not all ESD tape is the same, and using the wrong type defeats the whole purpose. For example, if you’re marking ESD safe zones on a floor or workbench, you need ESD warning tape—it’s bright, has the right static properties, and is made to hold up in high-traffic areas. We’ve had clients use regular warning tape and then wonder why their zone wasn’t actually ESD safe. If you’re working with parts that need to be removed later, UV releasable tape is clutch—you can apply it, remove parts, and then zap it with UV light to make the tape peel off easily without leaving residue. For jobs where you need heat resistance, flame retardant adhesive tape is non-negotiable, especially if you’re working near soldering stations. Double sided heat transfer tape works great for mounting ESD-sensitive parts that need a strong bond, and silicone pet tape is perfect for delicate surfaces where you don’t want to leave any sticky residue. I’ve had to turn away customers who wanted to use silicone pet tape for holding down heavy metal parts—just doesn’t have the tensile strength, and they end up frustrated. Don’t be that guy.
Now, the actual application step. This is where most people mess up. When you unroll ESD tape, don’t stretch it super tight. Wait, hold on—why? Stretching the tape causes it to build up static, right? Because the friction of stretching generates a charge, and if that charge can’t dissipate, it goes right into whatever you’re sticking it to. I’ve seen this happen so many times: techs pulling the tape as hard as they can to get it straight, then their component shorts out 5 minutes later. Instead, unroll enough tape to where you need it, cut it with a plastic blade or ESD-safe scissors—not metal scissors, those can spark—and then place it on the surface gently, starting from one end. Don’t lay it down all at once and then smooth it out—work from the middle outward, that way you avoid trapping air bubbles. Air bubbles under the tape are bad because they create weak spots where static can’t dissipate evenly, and they make the tape peel off sooner.
When you’re smoothing the tape, use a plastic roller, not your hands. Your hands have oil and skin oils that can break down the adhesive over time, plus even if you’re wearing gloves, your hands might still have a small static charge. A small plastic handheld roller (usually 1 inch or 2 inches wide) is cheap and works perfectly. Roll from one end to the other with steady, even pressure—don’t press so hard that you deform the tape, just enough to make it stick properly to the surface. For edges, make sure you press them down firmly too—loose edges are where dust gets in, and also where the tape might peel up, leaving your ESD protection spotty.
Wait, what about when you’re applying tape to vertical surfaces? Like, if you’re using ESD tape to hold a wire harness in place on a machine. Same rule applies: don’t stretch it tight. Start at the top, press the first 1/4 inch down gently, then work your way down, rolling as you go. If you stretch it vertically, gravity plus the tension makes the tape pull away from the surface, and you get gaps. I learned this the hard way when I installed ESD tape on my own workbench at home—stretched it too tight, and it peeled off after a week. Now I do it right, and it’s been there for 2 years.
Another big mistake: applying tape over other tape. Whether it’s ESD tape or regular tape, putting one layer over another creates a barrier that static can’t get through. If you need more thickness, buy a thicker ESD tape or apply single layers. Double layer tape might seem like it’s stronger, but it kills the static dissipation. I had a customer last year who did this for a custom enclosure, and their ESD testing failed because the tape layers blocked the static path. Cost them thousands in rework—no fun.
What about storage before application? If you’re not using the tape right away, don’t leave it in a hot truck or a stuffy storage closet. ESD tape’s adhesive properties get messed up if it’s exposed to extreme temperatures (above 120°F or below 40°F is bad news) or high humidity. I keep my spare rolls in a climate-controlled cabinet, and I tell all my customers the same. If your tape has been sitting in a hot warehouse for a month, let it acclimate to room temperature for 24 hours before using it—otherwise the adhesive won’t stick right, and the static properties won’t work.
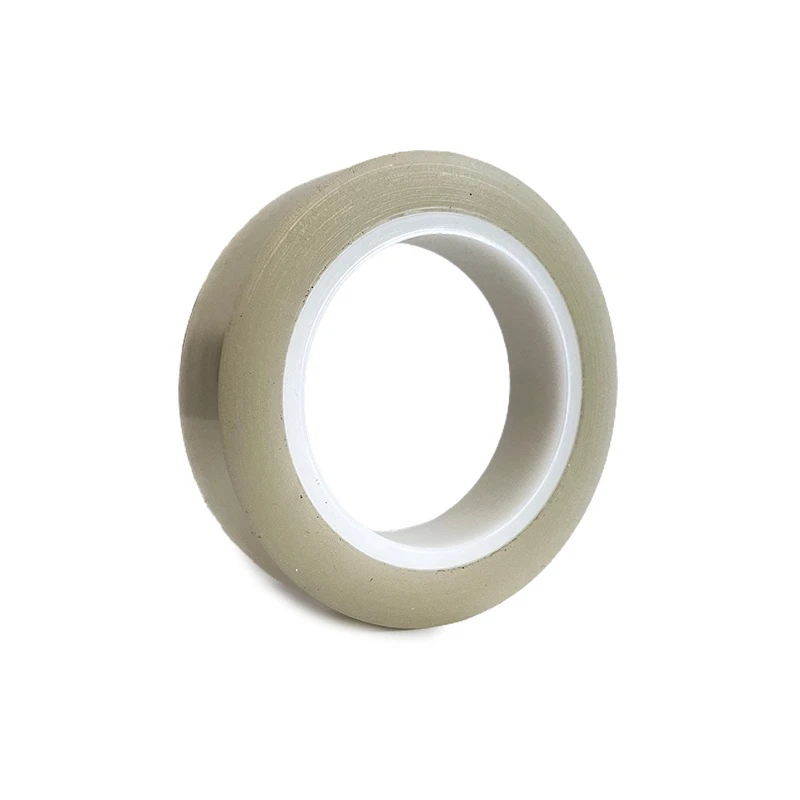
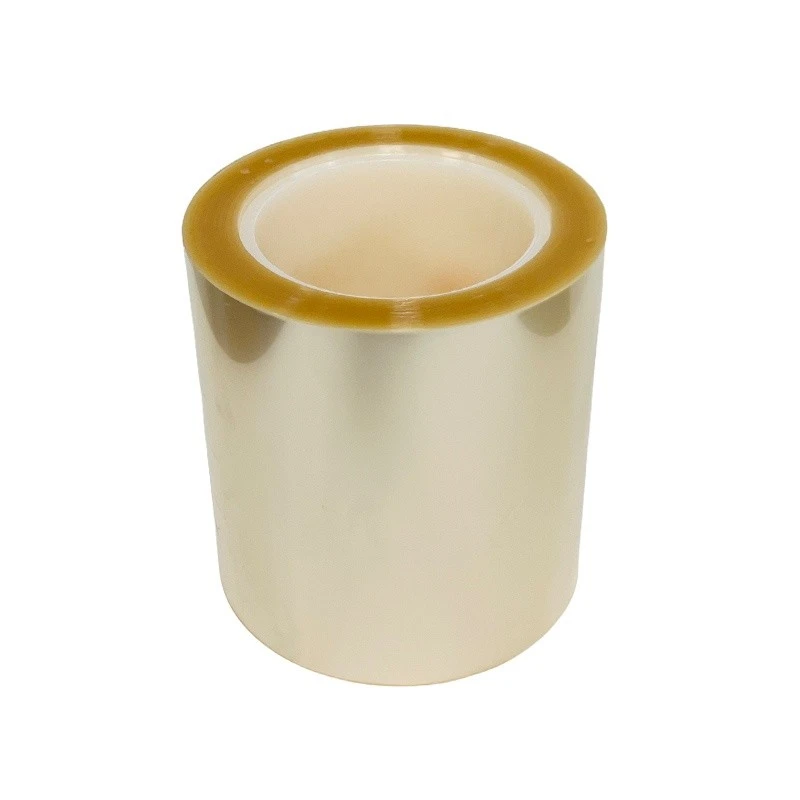
Now, post-application checks. You can’t just slap the tape on and call it done. Test it to make sure it’s working. First, do a visual check: are all the edges sealed? Any air bubbles? Any gaps? If so, fix them right away—don’t wait until you have a problem. Second, if you have an ESD meter (you should), test the tape’s surface resistance. It should read between 10^6 and 10^12 ohms—if it’s outside that range, the tape is defective or you applied it wrong. If you don’t have a meter, do a quick test with an ESD wristband to make sure the surface isn’t holding a charge. Run the wristband over the taped surface—if you get a static shock, the tape isn’t working.
And here’s a pro tip: don’t reuse ESD tape. Even if it looks like it’s in perfect shape, the adhesive’s static properties degrade after one use. I’ve seen techs peel off a piece of ESD tape and reapply it to another part—9 times out of 10, that part gets ruined. ESD tape is cheap compared to the parts you’re working with, so just use a new roll every time.
Wait, let’s talk about common scenarios because I know that’s what you care about. If you’re marking ESD safe areas at work, use ESD warning tape—make sure you apply it so it’s flat, no wrinkles, because wrinkles can cause people to miss the markings. If you’re doing a prototype where you need to remove parts later, UV releasable tape is your go-to—just remember to expose it to UV light for the recommended time (usually 5-10 minutes) before peeling, don’t yank it off without the light. For soldering jobs, flame retardant adhesive tape is a must because regular ESD tape might melt when the soldering iron is nearby. Double sided heat transfer tape works great for mounting PCBs to metal frames—just make sure you clean both sides of the metal and the PCB first, no shortcuts. And if you’re working with delicate, flexible parts like thin film sensors, silicone pet tape is perfect because it won’t leave sticky residue when you take it off.
Let me throw in a quick story to drive this home. A client of mine in the aerospace industry called me last month panicking—their new batch of avionics parts had all failed ESD testing, and they had to ship them out in a week. Turns out, their techs were using ESD tape but applying it with metal scissors and stretching it tight. We re-applied all the parts with the correct technique—plastic scissors, no overstretching, clean surfaces—and they passed the next test. They saved $50k in rework, and now they’re a repeat customer. That’s why this stuff matters.
Before I wrap up, let’s recap the key points so you don’t have to re-read this whole thing: 1) Prep the surface like your parts depend on it (because they do—wipe with isopropyl, lint-free, air dry). 2) Pick the right ESD tape for the job—don’t grab the first roll; use ESD warning tape for zones, UV releasable for removable parts, flame retardant for soldering, double sided heat transfer for mounting, and silicone pet tape for delicate surfaces. 3) Apply gently, no stretching, start from the middle outward, smooth with a plastic roller. 4) No double layers, no applying over old tape. 5) Store the tape properly, acclimate it before use. 6) Test it after application.
If you have questions about which tape is right for your project, or if you need a bulk quote, hit me up—we work with all kinds of industries, from startups to big corporations, and we’re not just selling tape, we’re here to help you not ruin your parts. No pressure, just real advice from someone who’s been in this a long time.
References
- ESD Association. (2021). Standard for the Protection of Electrostatic Discharge Susceptible Items – General Requirements. ANSI/ESD S20.20.
- Specialty Tapes Industry Guidelines. (2022). Correct Application of Static-Dissipative Adhesive Tapes for Industrial Use. International Organization for Standardization (ISO) 18589.
- Electronic Component Repair and Handling Best Practices. (2023). Institute of Electrical and Electronics Engineers (IEEE) 1107-2020.